.png)

In urgent need of assistance from our Incident Response team? Click below to email directly and get support.
Get Support
Set up regular vulnerability scans for Web Apps & Infrastructure with our innovative SecurePortal
Learn More
Your Central Platform For Security Risks
GuardNest streamlines vulnerability management into one intuitive platform.
View GuardNest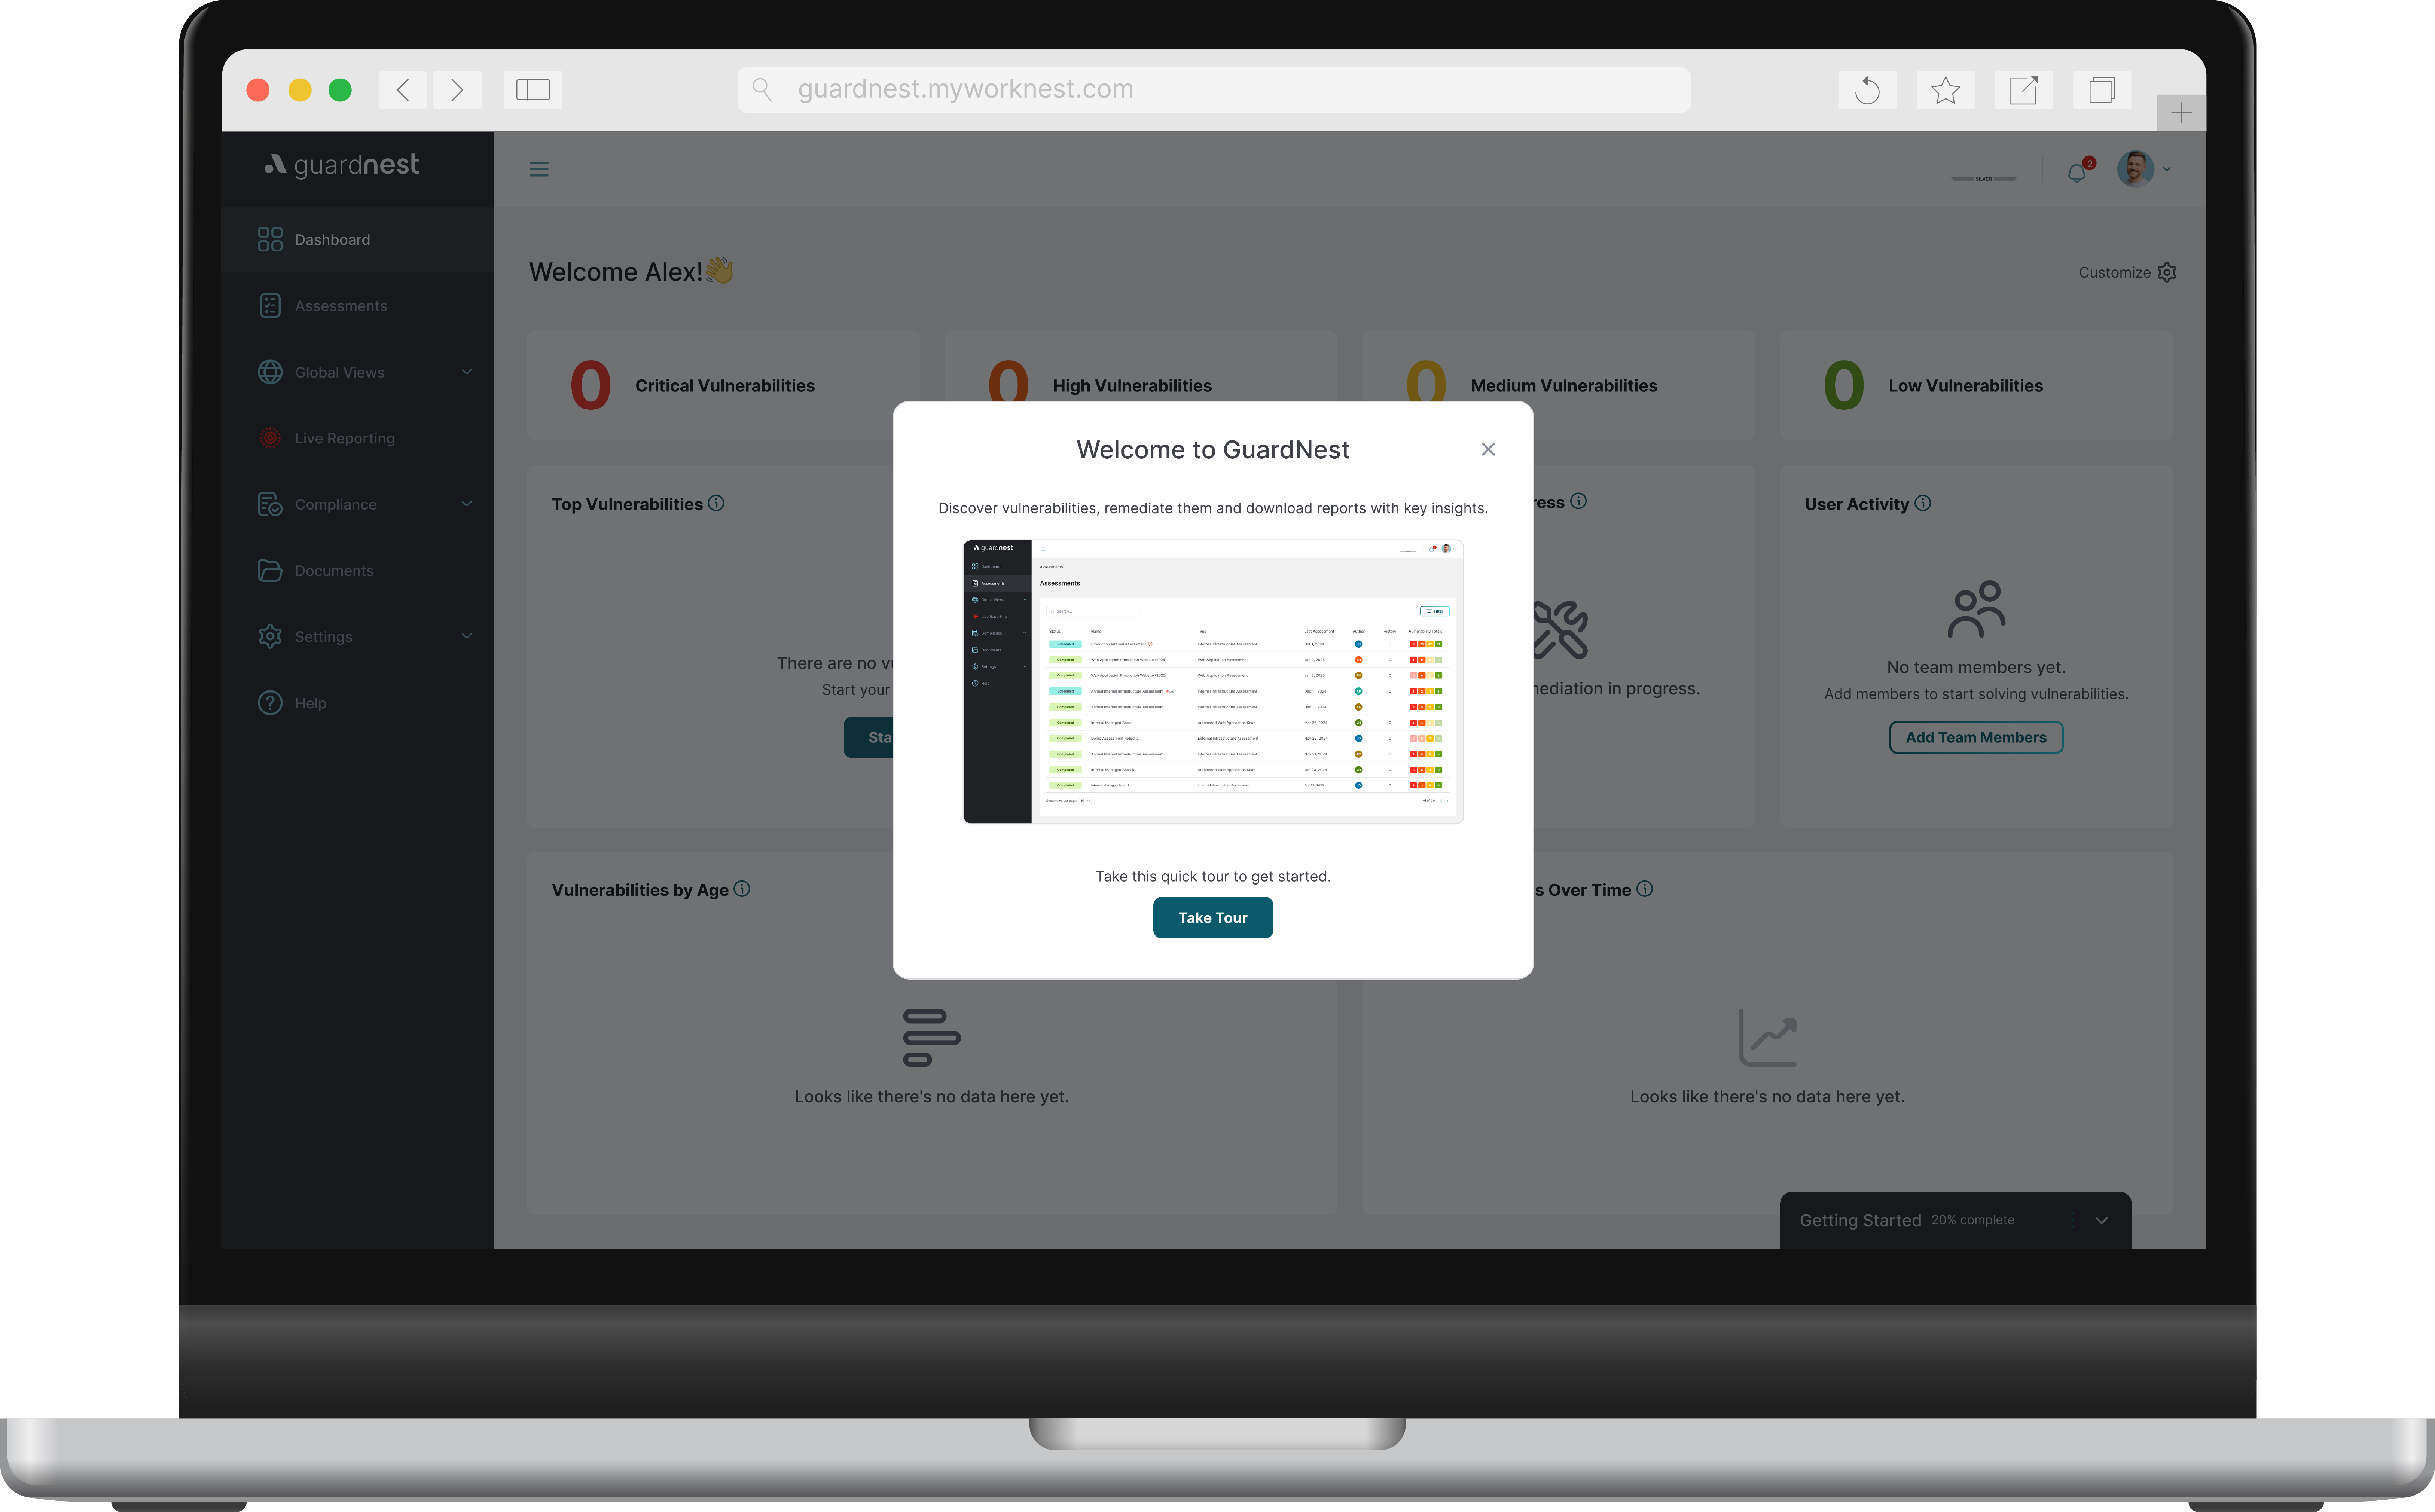

Introducing E-Learning – Accredited Security Training, Seamlessly Integrated Into GuardNest
Read
Need Our Assistance?
We now offer Incident Response Retainers helping you reduce damage from a cyber attack
Read
S3 and The Anti-Virus Scan


S3 and The Anti-Virus Scan
S3 and The Anti-Virus Scan
Storing files in S3 is great. It can be used for a lot of things, and is really handy when allowing users to upload a file, especially when using a pre-signed URL to keep things super secure. However, what is not clear is that S3 does not check these files for malicious content.
You may be thinking that such Scanning isn’t needed, as the file is held in Amazon’s infrastructure and not your own. However, at some point that file is going to be downloaded either internally by a member of staff or by a customer. Therefore, the malicious file will be opened at some point, putting that user at risk.
So how do we scan a file uploaded to S3? Well the answer sadly, is not that simple.
Effectively, we need to scan the file’s contents, execute it on a host, then process the results. As we don’t want to keep a malicious file, a Lambda Function can be used. AWS Lambda works great with S3 buckets thanks to the triggers.
The following example is written in NodeJS, but the same could likely be achieved with Python.
A lambda function can run any binary file, so can be used to execute antivirus scans. For this example, we’ll use ClamAV.
Firstly, we need to make sure that our virus definitions for ClamAV are up-to-date. We do this by running a separate lambda function that will run every two hours, by using a cloudWatch event.
‘execSync('./freshclam --config-file=freshclam.conf --datadir=/tmp/');‘
You will need to include the freshclam binary file in the root directory of your lambda function.
Once we have downloaded these definitions, we then upload them to a separate S3 bucket. We put these into another S3 bucket for speed when we come to do the scan on the individual files.
Next, we create a separate lambda function to trigger when a file is added to our S3 bucket. This function will then perform a number of actions. The first action is to download the updated definitions and store, again in the lambda’s tmp directory.
asyncfunction downloadAVDefinitions() { const downloadPromises = CLAMAV_DEFINITIONS_FILES.map((filenameToDownload) => { returnnew promise((resolve, reject) => { var destinationFile = path.join('/tmp', filenameToDownload); console.log(`going to download definitions: ${filenameToDownload};`); var localFileWriteStream = fs.createWriteStream(destinationFile); localFileWriteStream.on('error', function(err) { localFileWriteStream.end(); reject();
});
var options = { Bucket: ‘Our-bucket-definition-name’, Key : `${filenameToDownload}`, } var s3ReadStream = s3.getObject(options).createReadStream().on('end', function(){ resolve(); }).on('error', function (err){ reject(); }); s3ReadStream.pipe(localFileWriteStream); }); }); returnawait Promise.all(downloadPromises);}
So we can scan the file, we need to download the uploaded file and store this, again in a tmp directory. Once downloaded we can scan the file.
If the file is not classed as safe when scanned, then an ‘INFECTED’ status is returned, else we return ‘CLEAN’.
function scanLocalFile(filePath, key){ try { var result = execSync(`./clamscan -v -a --stdout -d /tmp/ /tmp/download/${filePath}`); scanStatus = 'CLEAN'; return result; } catch(err) { if(err.status === 1){ var data = { text: `File: ${filePath} is infected, , located: ${key}` } scanStatus = 'INFECTED'; returnnew Promise((resolve, reject) => { var params = { Destination: { ToAddresses: ["allart_email_address"] }, Message: { Body: { Text: { Data: `Some text showing which ${filePath} is in bucket ${key}`} }, Subject: { Data: "S3 Virus Scan: File Malicious"} }, Source: "from_email_address" }; ses.sendEmail(params, function (err, data) { if (err) { console.log('could not send mail'); console.log(err) } else { console.log('email sent'); } }); }); }else{ console.log(err) scanStatus = 'ERROR'; } return result; }}
If a file is classed as malicious, then we want to handle it immediately, using SES to send an email to the correct people, letting them know that the file needs to be deleted from S3. However, as emails can take time to process, we also tag the file and prevent it from being downloaded through the S3 bucket policy. This is why we return the ‘INFECTED’ status.
var taggingParams = { Bucket: bucket, Key: key, Tagging: { TagSet: [ { Key: 'virus_status', Value: scanStatus } ] } }; try { let uploadResult = await s3.putObjectTagging(taggingParams).promise(); console.log("Tagging successful"); } catch(err) { console.log(err); } finally { return virusScan; }
Then for our bucket policy we add the following:
{
"Effect": "Deny", "Principal": { "AWS": [ "arn:aws:iam::awsIAMRole” ] }, "Action": [ "s3:GetObject", "s3:PutObjectTagging" ], "Resource": "arn:aws:s3:::bucket/*", "Condition": { "StringEquals": { "s3:ExistingObjectTag/virus_status": "INFECTED" } } }`
One way to test this solution is to use Evil String, aka EICAR.
X5O!P%@AP[4\PZX54(P^)7CC)7}$EICAR-STANDARD-ANTIVIRUS-TEST-FILE!$H+H*
All anti-virus software will recognise this string and alert on its presence.
There are few binaries you will need to include in your upload to S3:
libxml2.so.2.9.1libbz2.so.1libclamav.so.9libclamav.so.9.0.4libclammspack.so.0libclammspack.so.0.1.0libjson-c.so.2libjson-c.so.2.0.1libjson.so.0libjson.so.0.1.0libltdl.so.7libltdl.so.7.3.0liblzma.so.5libpcre2-8.so.0libpcre2-8.so.0.5.0libpcre2-posix.so.1libpcre2-posix.so.1.0.1libxml2.so.2
(If you don’t have these, you can use Docker to spin up an amazon linux image to pull out the files you need.)
Also due to the binary files the image is going to get big quickly, so I would recommend developing using Serverless.
If you enjoyed this post let us know and take a look at Jasons other series in our News Section!
Find out more about our Web Application Testing Services.
.svg)


.webp)


